









What Is a Flush Ground-Level Deck? (And Why It’s Different)
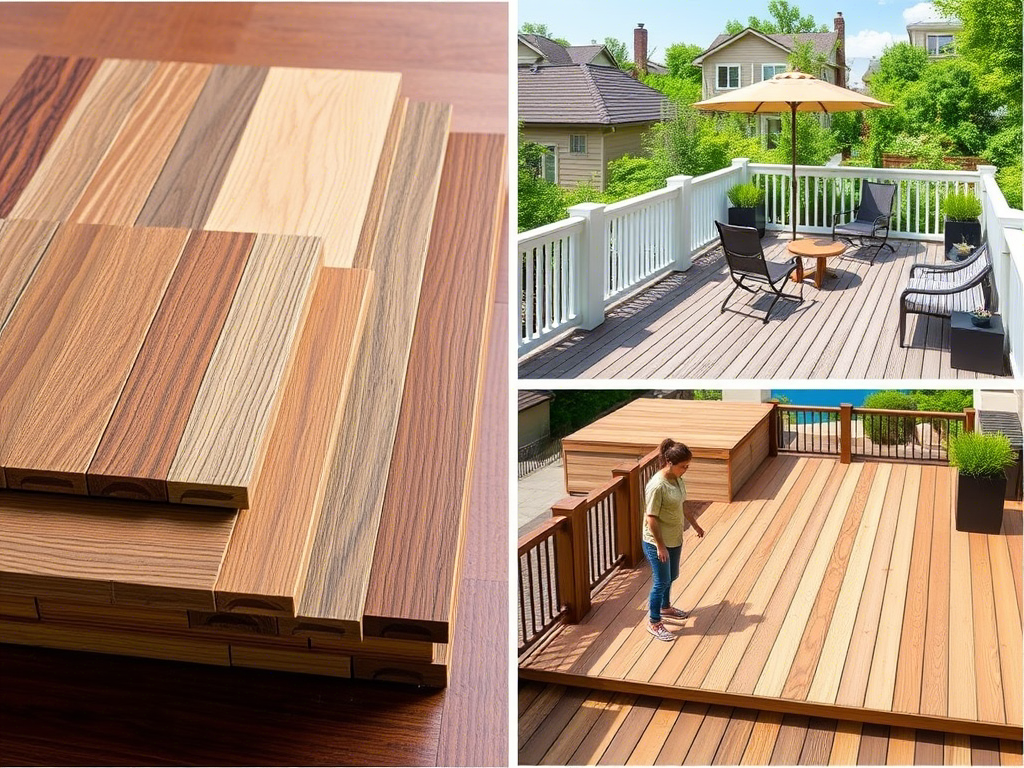
A flush ground-level deck sits no more than 2 inches above the surrounding grade. It eliminates trip hazards, preserves sightlines, and opens up backyards where a raised deck would feel imposing. Unlike a conventional deck anchored to a house ledger, a flush deck works as a freestanding platform. You don't need stairs or guardrails if the height stays under 30 inches in most U.S. jurisdictions.
The low profile, however, creates a hidden challenge. With framing members almost touching soil, moisture and insects attack the structure far more aggressively than in elevated decks. That shifts the entire construction approach. Foundation design, material selection, and drainage become the make-or-break factors that decide whether the deck lasts a decade or rots in three years.
Flush Deck vs. Raised Deck: Quick Comparison
| Factor | Flush Ground-Level Deck | Raised Deck |
|---|---|---|
| Height above grade | 0–2 inches | 12+ inches |
| Typical cost per sq ft | $15–$25 | $25–$40 |
| Permit requirements | Often exempt under 30" | Frequently required |
| Framing rot risk | Very high without proper drainage | Moderate |
| Lifespan (wood) | 10–15 years | 15–25 years |
Foundation Options: Concrete Slab vs Deck Blocks vs Adjustable Pedestals
Every flush deck stands or falls on its foundation choice. A poor base leads to heaving, pooling water, and rapid joist rot. Three systems dominate the market, each with distinct trade-offs in cost, installation effort, and long-term reliability.
Concrete Slab with Sleepers
A full 4-inch reinforced concrete slab topped with pressure-treated sleepers gives the strongest, most rot-resistant base. This is the method professional contractors recommend when clients demand a deck that will last 20+ years. The slab delivers a perfectly flat, load-bearing surface and breaks soil-to-wood contact completely. Cost runs $8–$12 per square foot before adding deck boards, and you'll need to excavate 6–8 inches of soil, compact gravel, and pour concrete—making it the most labor-intensive option.
Deck Blocks on Gravel
Precast concrete deck blocks set on a compacted 4-inch gravel pad offer the best balance of DIY-friendliness and cost. They cost about $3–$5 per square foot for the block and gravel base. The blocks hold 4x4 or beam timbers in slots, allowing minor height adjustments. Drainage relies entirely on the gravel layer; without at least 4 inches of clean 3/4-inch crushed stone, blocks can settle unevenly. This system works well for simple floating decks in well-drained soils but demands meticulous leveling.
Adjustable Pedestal Systems
Pedestals sit on concrete pavers or directly on a leveled gravel base and provide precise height adjustments down to 1/16 inch. They're common in commercial plazas and rooftop decks but are gaining traction for residential flush decks. Costs run $5–$8 per square foot for the pedestals alone. The open underside promotes excellent airflow and drainage, drastically reducing moisture trapping. Installation is fast—many systems require no fasteners—but you must ensure a stable base that won't erode under the point loads.
Foundation Decision Matrix
| Foundation | Cost/sqft | DIY Difficulty | Drainage Performance | Lifespan | Best For |
|---|---|---|---|---|---|
| Concrete slab + sleepers | $8–$12 | Hard | Excellent | 25+ years | High-traffic entertaining areas |
| Deck blocks on gravel | $3–$5 | Moderate | Good | 15–20 years | DIY weekend builds |
| Adjustable pedestals | $5–$8 | Moderate | Excellent | 20+ years | Precision layouts, airflow needs |
Concrete slab wins on permanence. Deck blocks offer the lowest upfront cost. Pedestals shine when you need exact leveling or maximum under-deck ventilation. Always match the foundation to your soil type and drainage capacity.
How to Prevent Rot and Moisture Damage in a Flush Deck
Rot is the number one killer of ground-level decks. Three mechanisms accelerate decay: capillary moisture wicking up from soil, standing water trapped between joists, and insect infestation in damp wood. Preventing each requires deliberate design choices from the very first shovel of dirt.
| Risk | Cause | Prevention |
|---|---|---|
| Capillary moisture | Soil water rising into wood framing | Use a 6-mil polyethylene vapor barrier or elevate framing on sleepers; maintain a minimum 2-inch gap between wood and soil |
| Standing water | Poorly graded base or clogged gravel | Slope the sub-base at 1% (1 inch drop per 10 feet); install 4 inches of 3/4-inch clean crushed stone wrapped in geotextile fabric |
| Insect damage | Termite access from soil to wood | Specify pressure-treated wood rated for ground contact (UC4B or higher); install stainless steel termite shields between concrete and wood where possible |
Drainage is the foundation of rot prevention. A 4-inch gravel layer separates the subsoil from the deck structure and allows water to flow freely to a perimeter drain or natural low point. Never skip the geotextile fabric between native soil and gravel—it stops silt from clogging the drain layer. For flush decks built within 6 inches of grade, adding a 1-percent slope across the entire pad keeps water moving away from the house.
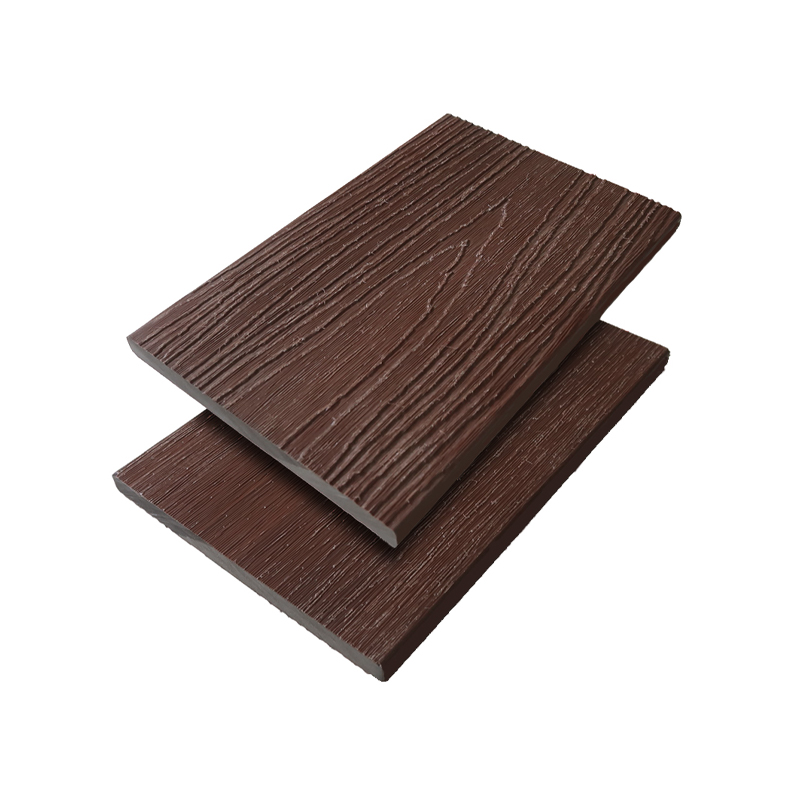
Material grade matters too. Ground-contact pressure-treated lumber rated UC4B contains higher preservative retention than UC4A, making it the safer choice for any wood within 6 inches of soil. But wood is never fully immune. That's why many buyers now turn to composite decking. Co-extrusion composite decking completely eliminates the wood decay pathway, since the polymer shell encapsulates a dense core that does not absorb moisture or attract termites.
Step-by-Step Construction Guide (With Material List)
This walkthrough assumes you've chosen a deck block foundation on gravel—the most accessible method for a DIY builder. The principles extend to other systems; adjust fastener and blocking details accordingly. The example covers a 10-foot by 12-foot deck with 16-inch on-center joist spacing.
- Mark the perimeter. Drive stakes at the corners and run mason line. Square the layout using the 3-4-5 triangle rule. For a 10x12 rectangle, check that both diagonals measure exactly 15.62 feet.
- Excavate and grade. Remove sod and organic topsoil to a depth of 6 inches. Grade the subsoil with a 1% slope away from buildings. Compact the subgrade with a plate compactor until it feels firm underfoot.
- Install geotextile and gravel. Roll out non-woven geotextile fabric over the compacted soil. Spread 4 inches of 3/4-inch clean crushed stone. Compact again. Check the slope with a 4-foot level.
- Place deck blocks. Set blocks in a grid pattern—no more than 6 feet apart in either direction. For a 10x12 deck, use three rows of four blocks each. Tap each block level and flush with the gravel surface.
- Build the beam structure. Run doubled 2x6 pressure-treated beams across the deck blocks, parallel to the short dimension. Nail each pair together with 10d hot-dipped galvanized nails every 16 inches. Where beams butt together, splice over a block.
- Frame the joists. Position 2x6 joists across the beams on 16-inch centers. To determine joist count, divide the total width in inches by spacing and add one. For a 12-foot span, that's 144/16 + 1 = 10 joists. Secure with joist hangers and 1-1/2-inch galvanized hanger nails.
- Square the frame. Measure both diagonals again. Adjust until identical, then nail temporary diagonal braces across the tops of joists to hold square until decking goes on.
- Add deck boards. Start at one edge, parallel to the longest dimension. Use 3/16-inch spacers between boards for drainage. Pre-drill and fasten with 2-1/2-inch composite-rated screws near board ends and every 12 inches along each joist.
- Trim edges. Snap a chalk line at the final overhang (usually 1 to 1.5 inches beyond the rim joist) and cut all boards with a circular saw and finish blade.
- Apply finishing details. Install fascia boards to cover rim joists. Round over any sharp edges with a router. Clean the entire surface with a leaf blower and inspect all fasteners for proud heads.
Common Oversights During Construction
Throughout the build, several errors creep in repeatedly. Failing to crown joists—every board has a slight curve, and placing them crown up prevents future sag. Not leaving expansion gaps between boards and the house wall causes buckling when humidity rises. Using standard indoor screws instead of coated exterior fasteners leads to rust staining within a year. Counter each mistake by inspecting as you go and adhering to the fastener schedule specified by the deck board manufacturer.
Material List for a 10x12 Flush Deck (Deck Block Foundation)
| Material | Quantity | Specification |
|---|---|---|
| Deck boards | 30 pieces | 12 ft long, 5/4 x 6 in. composite or pressure-treated |
| 2x6 joists | 10 pieces | 12 ft long, pressure-treated, UC4B ground contact |
| 2x6 beams | 6 pieces | 12 ft long, pressure-treated, doubled (total 12 lengths) |
| Deck blocks | 12 blocks | Standard precast concrete, 7 in. x 7 in. base |
| Crushed stone | 2.5 cubic yards | 3/4-inch clean gravel |
| Geotextile fabric | 200 sq ft | Non-woven, 4-oz weight |
| Composite deck screws | 700 screws | No. 9 x 2-1/2 in., T15 drive, 300-series stainless or coated |
| Joist hangers | 20 pieces | ZMAX galvanized, for 2x6 lumber |
| Hanger nails | 200 nails | 1-1/2 in., 10d, hot-dipped galvanized |
Composite vs Pressure-Treated Wood: Which Is Better for a Flush Deck?
Pressure-treated wood has dominated ground-level decks for decades. It's cheap and familiar. But in a flush deck, where wood often sits inches above damp gravel, the maintenance cycle accelerates dramatically. Composite decking—especially the newer co-extrusion types—changes the long-term economics.
| Factor | Pressure-Treated Wood | Composite (Co-Extrusion WPC) |
|---|---|---|
| Moisture resistance | Moderate; requires annual sealing | High; polymer shell repels water |
| Maintenance frequency | Yearly cleaning, sanding, and refinishing | Occasional soap-and-water wash |
| 10-year material cost (incl. maintenance) | $22–$35 per sq ft total | $30–$45 per sq ft, nearly zero maintenance |
| Termite resistance | Only if rated UC4B; core can still attract insects | Inherently unattractive to termites |
| Lifespan in ground-level use | 10–15 years | 25+ years |
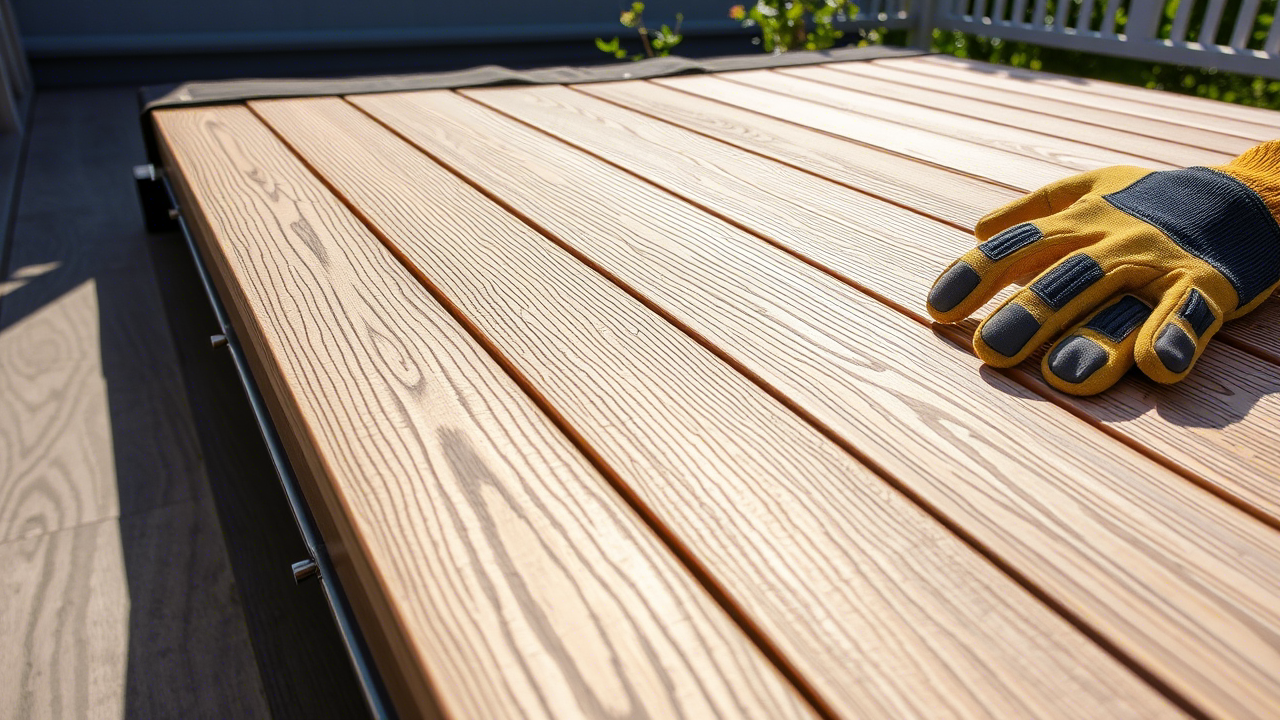
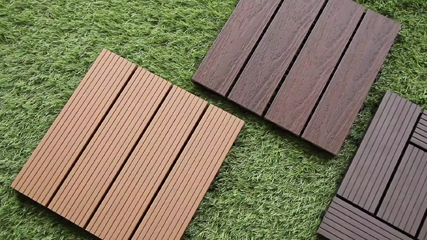
For a flush deck, the biggest advantage of composite is stability. Wood boards expand and contract, eventually cupping and trapping water between them. Composite boards hold their shape. Co-extrusion composite decking adds a solid polymer skin that resists scratching and fading, making it the smarter baseline for a deck that needs to endure near-constant ground moisture. If you plan to stay in the home for more than five years, the composite option often pays back through zero refinishing costs.
Common Mistakes to Avoid When Building a Flush Deck
Even experienced builders slip up on ground-level details. These five errors cause the most callbacks and premature failures.
| Mistake | Consequence | Solution |
|---|---|---|
| Skipping gravel compaction | Settling blocks create dips and trip hazards | Compact the gravel pad in 2-inch lifts using a plate compactor |
| Using uncrowned joists | Sagging in the middle of the deck | Inspect each joist edgewise; install crown up |
| No expansion gaps at board ends | Boards buckle and warp | Leave 1/8-inch gap at butt joints and 1/4-inch at structures |
| Ignoring drainage slope | Water pools under the deck, accelerating rot | Always grade the gravel base with minimum 1% slope |
| Using untreated fasteners | Rust stains and fastener failure | Use only stainless or double-hot-dipped galvanized hardware |
Beyond the table, another frequent oversight is burying the deck blocks directly in soil without a gravel bed. That traps moisture against the block and invites frost heave. Always set blocks on at least 4 inches of compacted gravel.
Permits, Codes, and Insurance Considerations
Most U.S. jurisdictions exempt detached, ground-level decks under 30 inches of height from building permits. But rules vary by county and city. A deck that attaches to the house, carries a hot tub, or sits in a flood zone almost always requires a permit. Check with your local building department before digging.
The International Building Code (IBC) mandates a minimum 2-inch clearance between the bottom of any wood floor structure and the exposed ground. That's the legal minimum. Smart builders treat 4 inches as the practical minimum to allow airflow. Also confirm setback requirements from property lines—many communities require 5 to 10 feet—and call 811 to mark underground utilities.
Homeowners insurance typically covers detached decks up to 200 square feet as part of the dwelling coverage, but an attached deck may increase premiums. If you install a flush deck with composite materials, mention that to your agent; some carriers view non-combustible decking as a lower fire risk, which could offset costs.
Maintenance Tips for a Long-Lasting Flush Deck
A flush deck demands more attention than an elevated one because debris collects in corners and moisture lingers. The maintenance routine splits sharply by material.
| Material | Task | Frequency |
|---|---|---|
| Pressure-treated wood | Wash with deck cleaner, inspect for splintering | Every spring |
| Pressure-treated wood | Apply water-repellent sealant | Every 12–18 months |
| Pressure-treated wood | Replace rusted fasteners, tighten loose boards | As needed |
| Composite decking | Spray with hose and mild soap; scrub stains | Twice per year |
| Composite decking | Check expansion gaps and clear drain channels under deck | Annually |
For composite flush decks, the understructure matters as much as the top. Lift a few boards each spring to confirm that gravel has not shifted and that no coarse debris is blocking airflow. With composite decking, you skip the sealing, but you still need to keep the hidden frame dry.